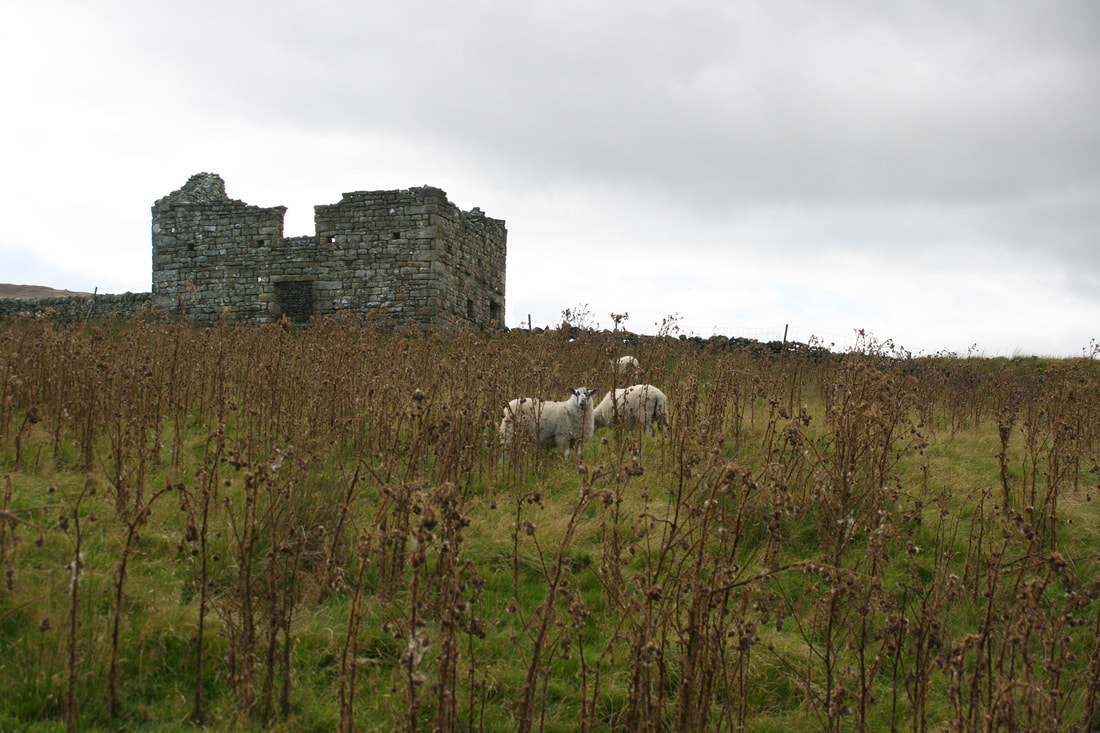
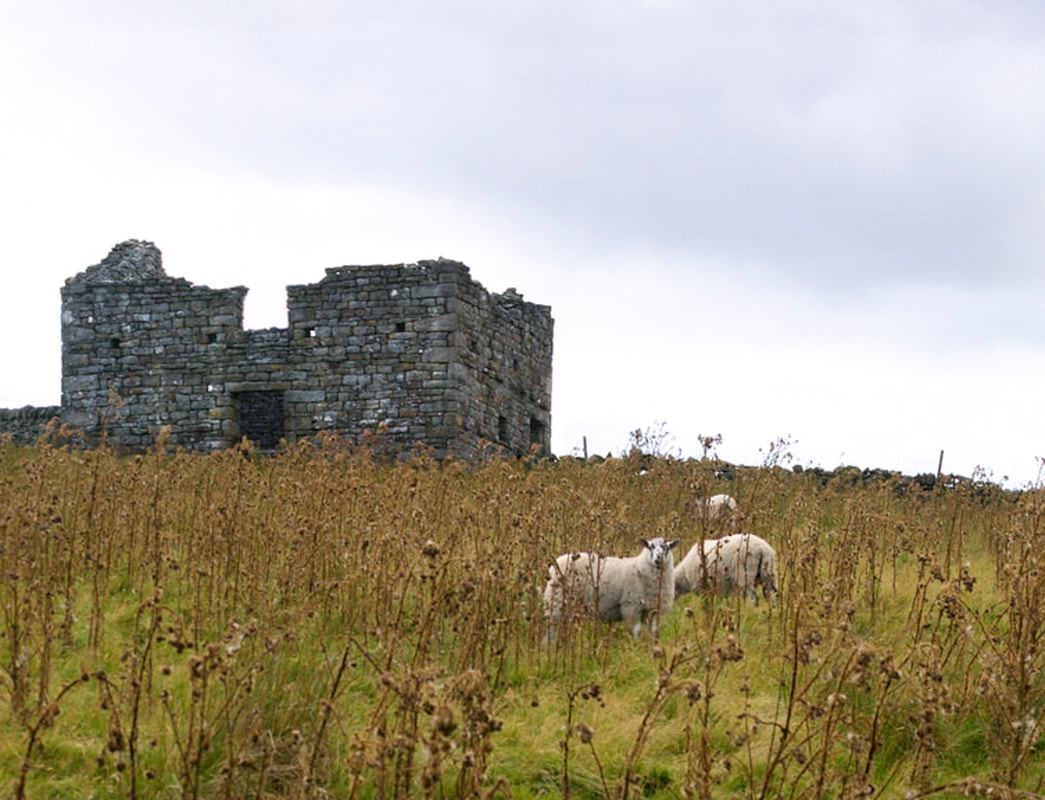
introductory sheep
|
|
in this photo we learned the how to use all different effect in lightroom. first we adjusted the colour and white balance. we then moved on to rendering and cropping the image. we also used different masks to adjust colours in certain areas like the colours of the bricks on the building and the colour of the sky.
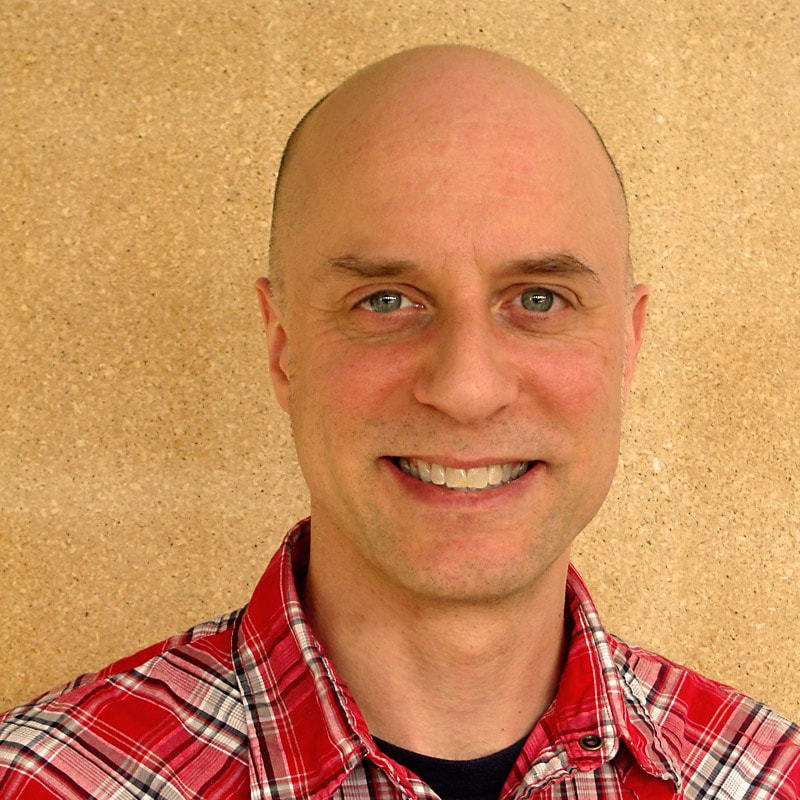
fixing lighting and skin
|

|
In this first image it has a crude yellow tint to everything that ruins the image so i went in and adjusted the white balance to fix it best i could. I also whitened his teeth, removed most of the redness in his cheeks, fixed his blemishes, obscured some of his wrinkles and brightened the blue in his eyes.
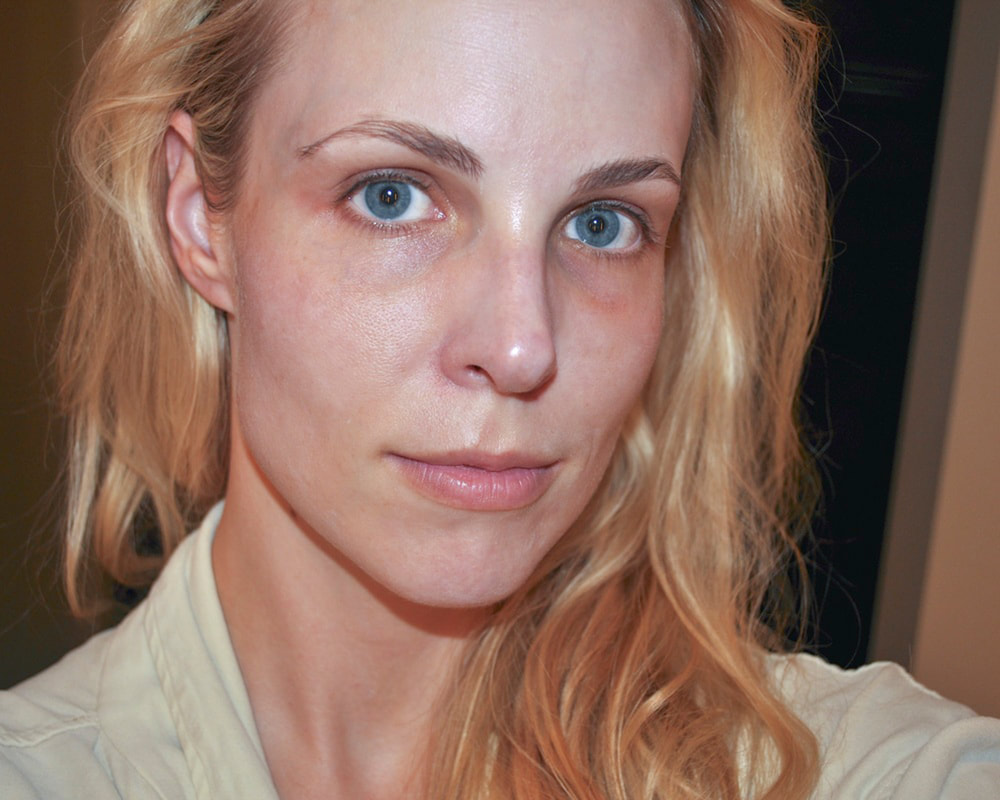
skin edting

|
|
in this image we were going over how to edit skin. in this photo we first stared by editing the white balance and colour balance of the image. We then moved on to editing the redness in her cheeks and the spots on her fece by using the spot treatment tool and using a mask on her cheeks to tone down the redness. we also edited her eybrows as to make them more streamlined and gave her some more eyelashes
